
BEST XE(GS) - Touch
INSTALLATION INSTRUCTIONS
You need: 2 screwdrivers (Philips #0, #1), flat screwdriver, a tweezer, latex gloves
In order not to damage the sensitive flexible flat cable by salty sweat or leave finger
prints at the metal parts I wear latex gloves.
1) Turn your XE Game system computer off, disconnect all cables and lay the XE Game system detachable Keyboard so that the key caps face down. Remove the 8 bottom case screws. Holding the top and bottom cases of the XE Keyboard plastic cases together, now flip it over so the XE keycaps are now facing up. Now you can lift off the XE keyboard the top gray cover off the bottom case.

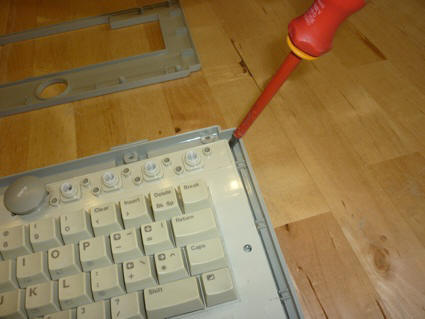
2) Use a flat screwdriver to lift up the keyboard carefully in the upper right edge.
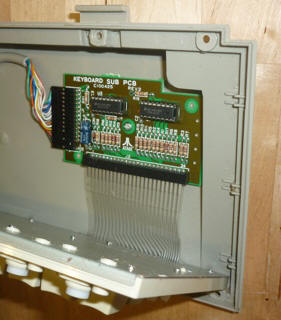
3) Take care of the flexible flat cable!
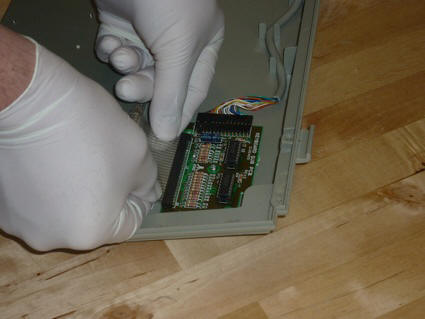
4) Pull the flexible flat cable out of the pcb-jack nice and evenly with the black pinch connector. Pulling out (and unplugging) the flexible flat cable is a little bit difficult; it´s easier if you have an assistant holding the botton case. Try not to pull out the XE Keyboard mylar at an angle, it is possible to tear it or put a bend in the XE keyboard mylar.
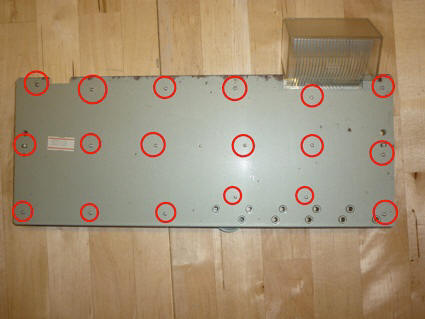
5) Use the Phillips screwdriver to remove all small screws at the botton-plate. Put them in a save place, e.g. a small box.
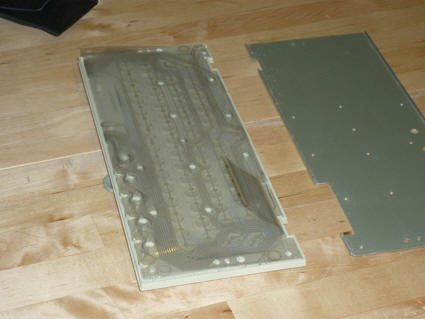
6) Lift off the metal plate...
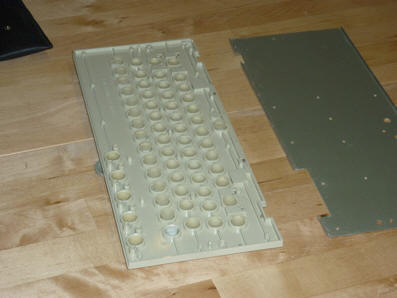
7) ...and remove the double layer mylar.
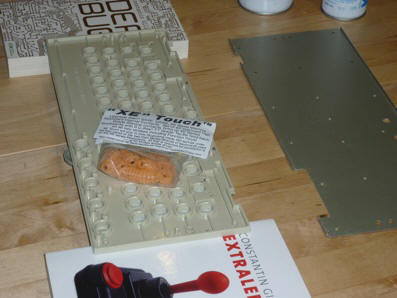
8) To remove the old XE silicon contacts: Turn over the keyboard top plastic housing and the old silicon cups will fall out. On the XEGS-keyboard, also four top white plastic plungers (under the silicon cups) of the unused top four function-keys (these function buttons are used on the Atari 65XE / 130XE / 800XE Computers keyboards, same 4 XE Game Keyboard functions are located on the Main XE console body / case) will drop out. Replace the 4 dropped out white key plungers back into the keyboard top shell cavity locations. Now I used two books as support blocks. Place the XE Keyboard top case on the support blocks so that the now pointing down XE keys caps do not touch the table or support books.
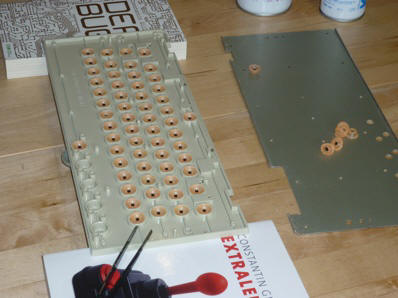
9) Put the new red XE-touch contacts at the place were the old contacts had been with the
black dot facing up, including the 4 non used XE Game keyboard top function keys.
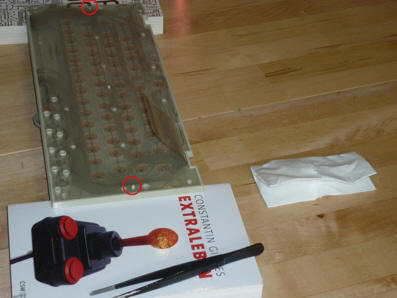
10) Place the mylar on the inside of the top keyboard case. Take attention to the two plastic pins to fix the mylar on the right position.
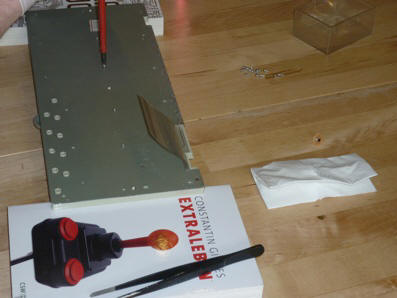
11) Now it´s time to put the botton plate back on its place and screw it together.
IMPORTANT HINT: Before you tighten up the screw, turn it gently counterclockwise (as if you would going to unscrew it again). If you feel a light click, the screw´s thread is in the right 90 degree position to be tighten it up clockwise. If you don´t care, the screw taps a new thread each time and severel timeslater the screw no longer holds.
12) Now reverse the disassemling process, and you´re finished.
Now enjoy your improved BEST XE-touch keyboard!
(c) 2014 Sleeπ